Edit Animations
Taitopia offers two different methods for creating animations: animation presets and keyframe animations.
Please note that these two types of animations cannot be used simultaneously. The position and rotation of the same object have to use either animation presets or keyframe animations.
- If an animation preset already exists for the current object, the keyframe button on the object parameter will be disabled. All animation presets for that parameter need to be deleted before keyframes can be added.
- If keyframe animations already exist for the current object or camera, the animation preset column in the asset library will be disabled. Keyframes need be deleted before adding animation presets.
Tip - Combining Animation Presets and Keyframe Effects
- To achieve your desired animation effect, it may indeed be necessary to combine animation presets and keyframes. In this case, select the object you want to animate, place it into an object group by itself, and then add animation presets and keyframe animations separately on the object group and the object inside the group.
Animation Presets
Animation presets are designed to provide users with a quick and easy way to create animations, even for those with limited knowledge of 3D animation.
In the "Animation Presets" column of the asset panel (the 4th icon from the top), you can find animation preset assets.
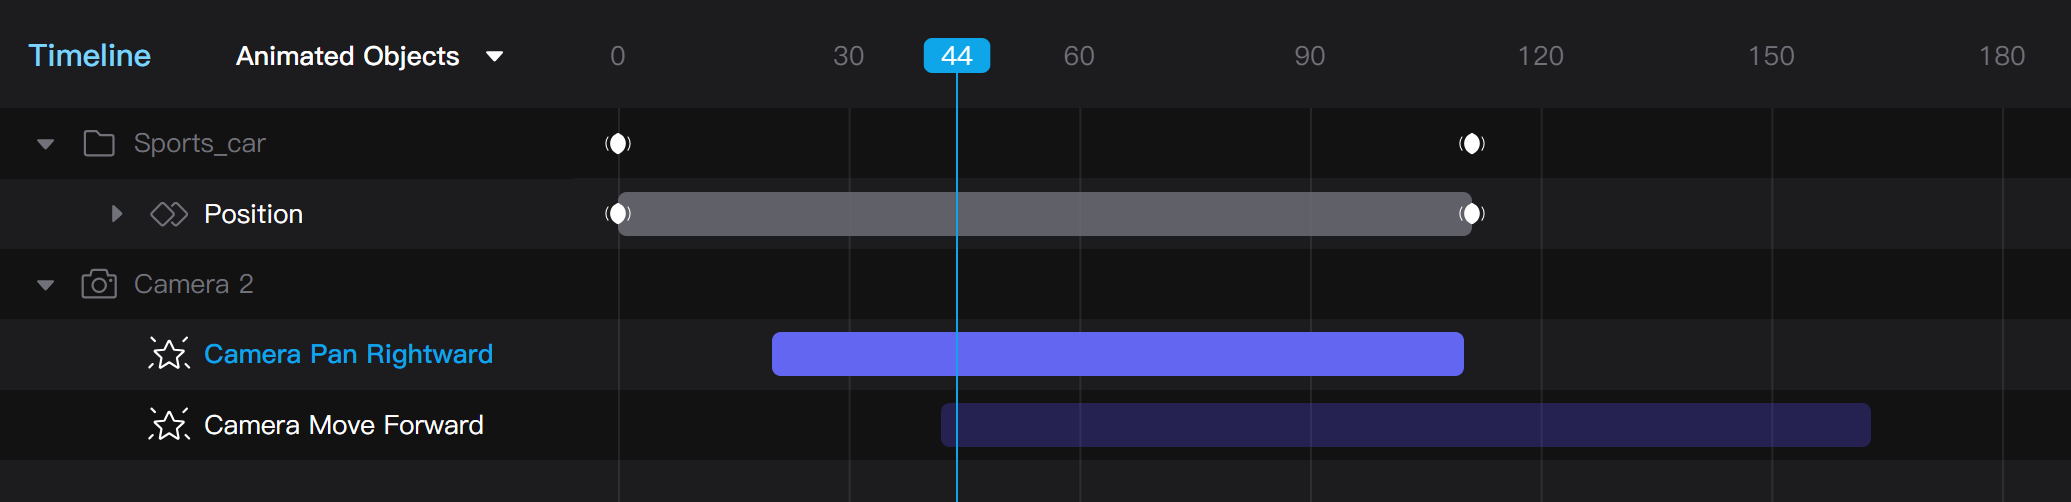
- Animation preset assets are divided into object animations and camera animations. Clicking on an object animation in the asset library adds the corresponding animation to the selected object. Clicking on a camera animation adds the corresponding animation to the active camera.
In the timeline operation area, animation preset clips are displayed in purple. After selecting an animation preset, you can adjust animation parameters.
Parameters that can be adjusted for translation animation presets include:
- Loop mode: Choose from "Once," "Once with Return," "Loop," and "Loop with Return."
- Ease In: The intensity at which the animation accelerates from a standstill. The greater the ease-in strength, the more abrupt the acceleration.
- Ease Out: The intensity at which the animation decelerates to a standstill. The greater the ease-out strength, the more abrupt the deceleration.
- Translation: The magnitude of the object's movement.
- Coordinate system: The direction of the animation movement's coordinate axis. Choose between "Object" and "Worlds"
Parameters that can be adjusted for rotation animation presets include:
-
Loop mode: Choose from "Once," "Once with Return," "Loop," and "Loop with Return."
-
Ease In: The intensity at which the animation accelerates from a standstill. The greater the ease-in strength, the more abrupt the acceleration.
-
Ease Out: The intensity at which the animation decelerates to a standstill. The greater the ease-out strength, the more abrupt the deceleration.
-
Rotation angle: The angle of rotation for the animation.
-
Rotation direction: The direction of the rotation angle, either "Clockwise" or "Counter-Clockwise."
-
Rotation axis: The axis of rotation, choices include "X," "Y," or "Z."
-
Rotation pivot: Click the "Pick Pivot Object" button on the right to choose an object in the scene as the rotation pivot, making the current object rotate around the origin of the rotation pivot object.
- When the rotation pivot is empty, the object rotates around its own origin.
- When the rotation pivot object also has other animations, the current animation always uses the initial position of the rotation pivot object.
-
Coordinate system: The direction of the animation's rotation axis. Choose between "Object", "World", and "Pivot".
Tip - Making an Object with an Off-Center Origin Rotate Around Its Center
When an object's origin is off from its geometric center, the default rotation animation preset cannot make the object rotating around its center. In this case, you can add a small cube to the scene, manually place it at the center of the object and group it with the object, then set the object's rotation animation's rotation center to this small cube. After hiding the small cube, the object can rotate around its center as desired.
Keyframe Animation
Keyframe animation allows you to create complex object movements and precisely control the animation effects of objects.
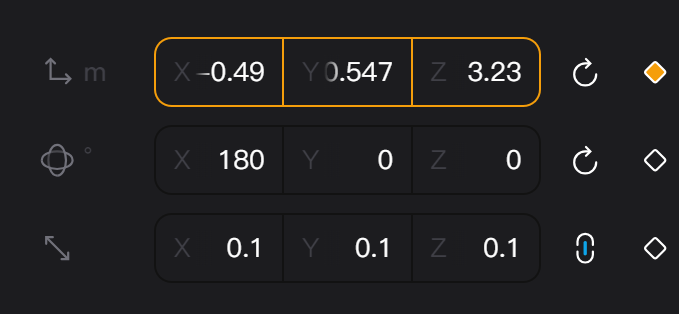
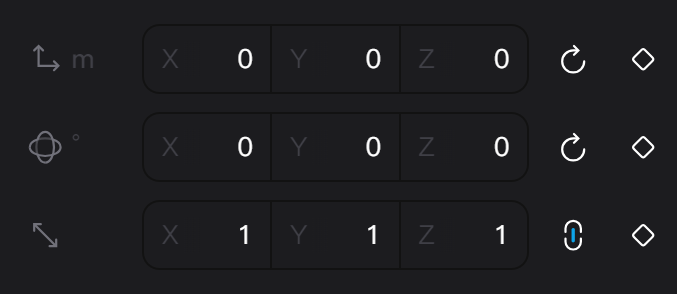
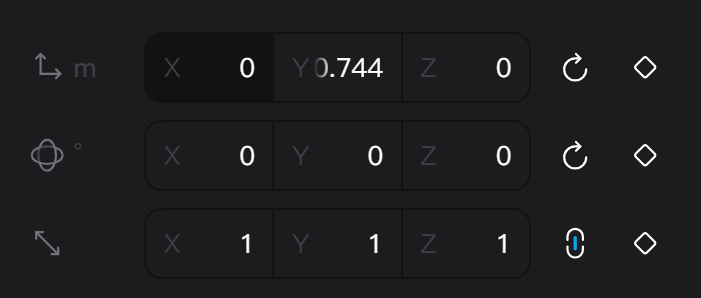
In the parameter panel on the right sidebar, all properties that allow for keyframe animation display a diamond-shaped keyframe button to the right of the parameter input box. The keyframe button has the following states:
- Hollow white: There is no keyframe at the current time, or there is a keyframe at the current time but the property has been manually updated, allowing you to click to add a new keyframe.
- Solid yellow: There is already a keyframe at the current time and the property has not been manually updated, allowing you to click to delete this keyframe.
- Grey: There are already animation presets on the current property, which have to be deleted before adding a keyframe.

To create motion effects for an object, at least 2 keyframes need to be added.
- When only 1 keyframe is added, it will be displayed in the timeline operation area, but no animation clip will be shown.
- The animation clip is displayed after adding the 2nd keyframe.
- When there are multiple keyframes for a property, the length of the animation clip is determined by the first and last keyframes.
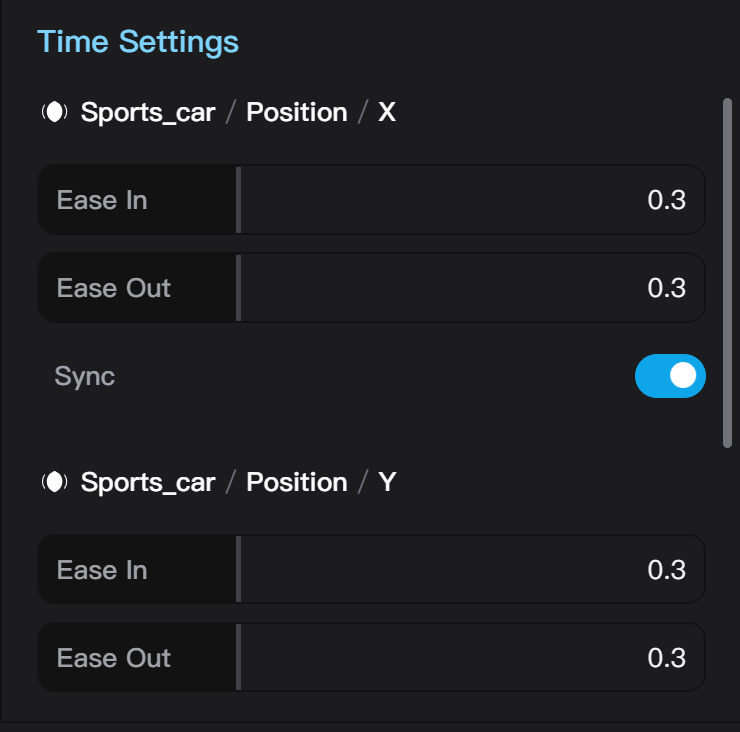
After selecting a keyframe on the timeline, you can adjust the ease in and ease out parameters for the keyframe:
- Ease In: The intensity at which the animation accelerates after passing the current keyframe. The greater the ease-in strength, the more abrupt the acceleration.
- Ease Out: The intensity at which the animation decelerates before reaching the keyframe. The greater the ease-out strength, the more abrupt the deceleration.
- Sync: When turned on, the ease in and ease out strengths will be adjusted together.
When the ease in/out strength is 0, it is considered off; otherwise, it is considered on. The keyframe icon on the timeline operation area is displayed differently depending on whether ease in/out is turned on. The effect of different ease in and ease out settings on the object's velocity (or the rate of change of the property) is as follows:
| Ease-in | Ease-out | Before Keyframe | At Keyframe | After Keyframe | | Off | Off | Constant Speed | Sudden Speed Change | Constant Speed | | Off | On | Constant Speed | Uses Speed Before Keyframe | Changing Speed | | On | Off | Changing Speed | Uses Speed After Keyframe | Constant Speed | | On | On | Constant Speed | Smooth Speed Transition | Variable Speed |
Under Development - Animation Curve Editing
Taitopia will provide a complete animation curve editor in the future. Currently, animation curves can only be controlled by adjusting the ease in and ease out strengths.
If you are familiar with using an animation curve editor, then the ease out strength corresponds to the width of the curve handle on the left side of the keyframe along the horizontal direction, and the ease in strength corresponds to the width of the handle on the right side. The slope of the handle is automatically calculated based on the ease in and ease out strengths to achieve a smooth motion effect.
Auto Keying Mode
In addition to clicking buttons in the parameter panel to add keyframes, you can also use the Auto Keying mode to automatically record keyframes while editing the scene.
- The Auto Keying mode switch is located at the bottom of the timeline on the control bar. When off, the button is white; when on, it is red.
- After activating Auto Keying mode, changing any scene property that supports animation using the Gizmo or the parameter panel will automatically record a keyframe.
- Auto Keying mode does not affect animation presets; you need to adjust the animation preset parameters to change the animation preset effects.
Under Development - Light Color Animation
Taitopia supports light color animation, but the light color parameter currently does not have any keyframe button. To add a light color animation, you can activate Auto Keying mode and then change the light color at different times.
Scene State During Animation
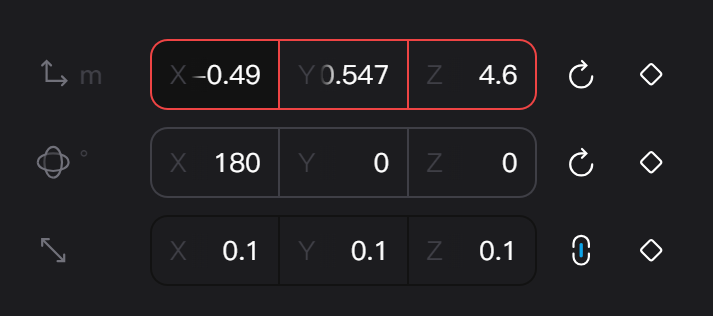
When the scene contains animations, object properties may be controlled by an animation. Changing the current time on the timeline resets the object's animation state. Therefore, when editing an object with animations, extra attention should be paid to whether the current changes have been recorded by the animation. Taitopia uses different outline colors on the parameter input box to indicate the current parameter status when it contains animations.
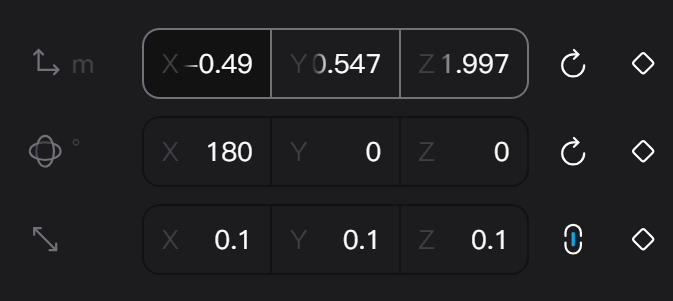
- When a parameter has no animation, the input box displays the default style with a dark grey outline, and any changes to the parameter at any time will take effect.
- When a parameter has a keyframe animation, but there is no keyframe at the current time, the input box displays a light grey outline.
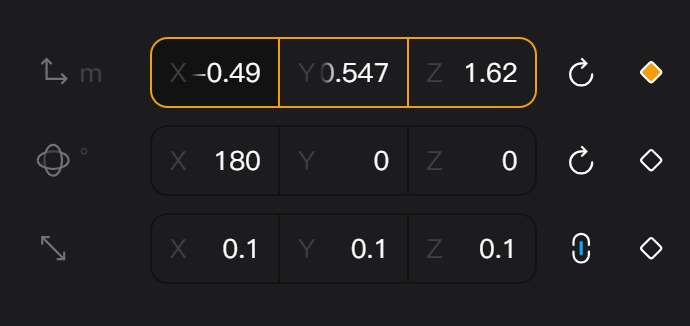
- When a parameter has a keyframe animation, and there is a keyframe at the current time, the input box displays an orange outline.
- When a parameter has a keyframe animation, and the parameter has been changed at the current time, the input box displays a red outline. A red outline means that the current change to the parameter is temporary; if the time is changed again or the animation for this parameter is edited, the temporary parameter change will be lost.
When adding a new keyframe to the animation and Auto Keying is not activated, you need to click the keyframe button to record the keyframe after updating the parameter. If Auto Keying is activated, updating the parameter will automatically record a keyframe, thus the red outline state will not occur.
If the current object contains an animation preset, moving and rotating the object at any time will always take effect. As a result, the initial state of the object before the start of the animation preset will be accordingly updated to match the current time. Correspondingly, parameters with animation presets always display the no animation state, and the keyframe button is disabled.
Animation Preview and Rendering
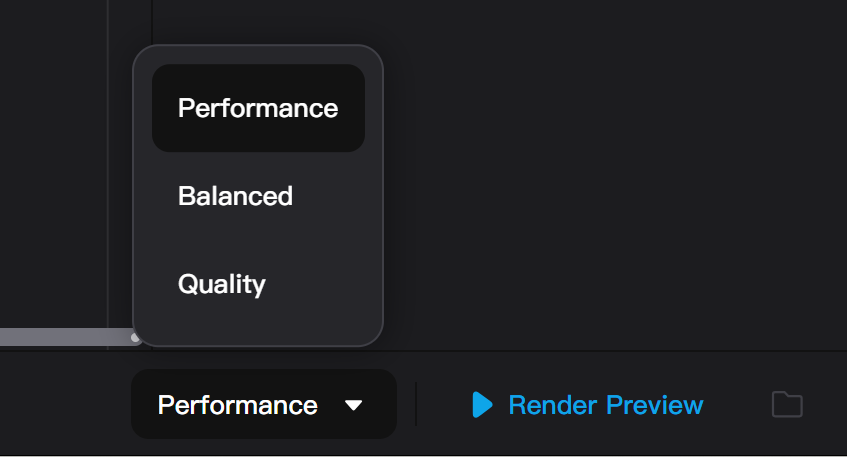
You can render animation previews at the very right of the timeline control bar.
- In the preview quality dropdown menu, you can choose the quality level for rendering the preview video, with options of "Performance", "Balanced", and "Quality". The "Performance" level renders the fastest but at the lowest quality, whereas the "Quality" level renders the slowest but at the highest quality.
- Clicking the "Render Preview" button will generate a preview video of the animation, allowing you to view the render animation effects. Rendering the preview video is similar to Instant Render for images. During rendering, the 3D viewport will be disabled, and you have to wait for the preview to finish rendering or cancel the preview before continuing to edit the scene. On the contrary, exporting videos for production through the Render menu is always performed using Relaxed Render.
- After the preview video rendering is completed, you can view and download the generated video.