Manage Your Files
File Management
Files
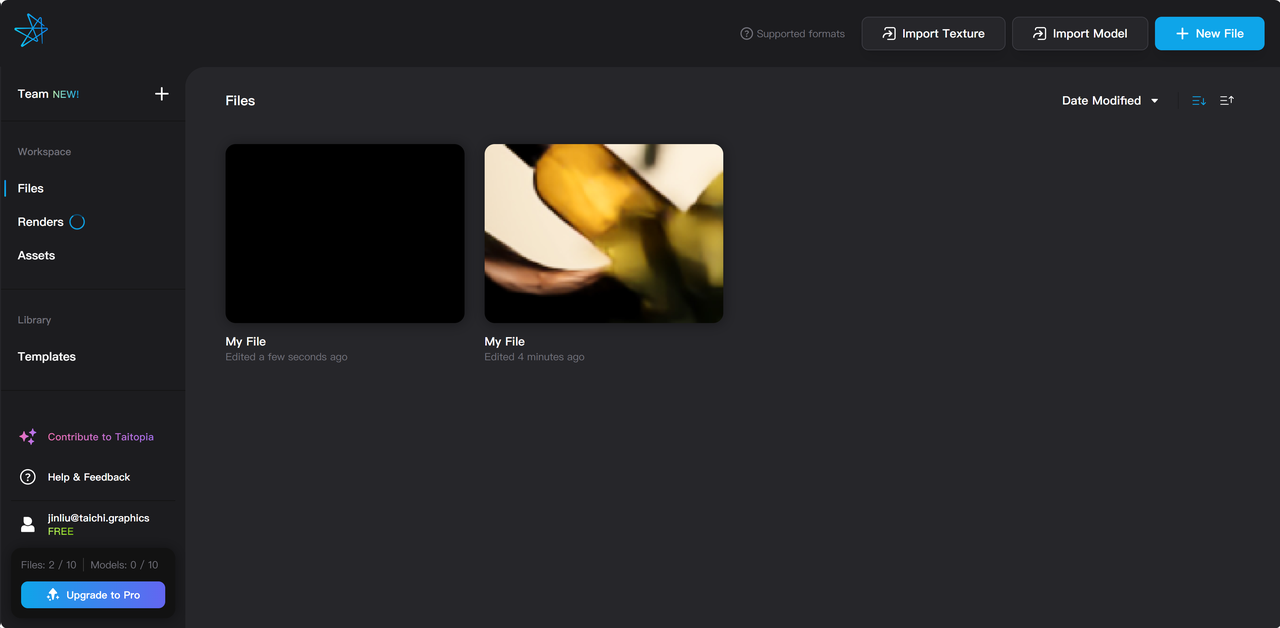
- Use the mouse wheel to scroll through all files.
- Click on the sorting icon in the top right corner of a file to arrange files by Date Modified or Date Created.
- Click on the ascending or descending order icon in the top right corner of a file to arrange files in ascending or descending order.
-
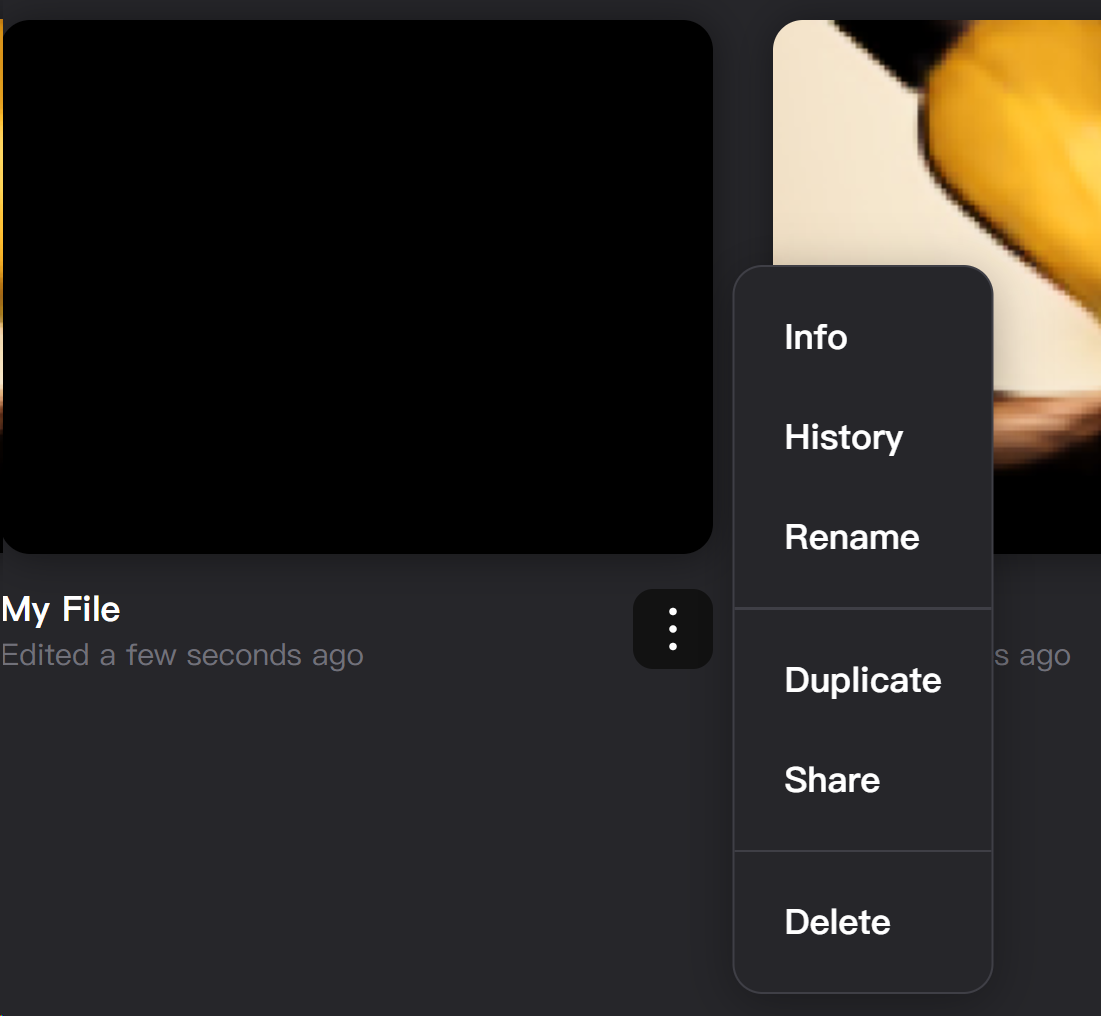
When you hover the mouse over the bottom of a file card, three dots (more options icon) appear. Click on this icon to see the following menu:
-
Click on the Info option to view file information, including file name (Name), creation time (Created), last modified time (Last Modified), data objects (Entities), materials (Materials), and textures (Textures).
-
Click on the History option to view the file's version history. Click on Auto- saved or Manually Saved to switch between types of file version histories. Hovering over a version history file will display three dots (more options icon). Click on this icon and then click on the Create File option to create a file from that version.
-
Click on the Rename option to open the file rename window. The default file name is “My File.” Type a new name in the file name box and then click Confirm to rename the file, or click Cancel to cancel renaming.
-
Click on the Duplicate option to Duplicate of the file. The default file name is “Copy of [file name].” A notification bar “Copy created. Open copy” appears at the top of the file page. Click on Open copy in the notification bar to open the newly created copy.
-
Click on Clone to Team to clone the file to a team space. Choose a team space to clone to, then click Confirm to complete cloning, or click Cancel to cancel cloning.
-
Click on the Share option to share the file with others. Click the button to the left of Enable Sharing to start sharing, allowing those with the link to clone and continue editing the file. Then click Copy next to Share Link to copy the sharing link to the clipboard, and paste it to share with others. Others can access the file by clicking on the link and logging into the Taitopia. Click Know Before You Share to view detailed instructions for sharing files; clicking on Duplicate in the “Know Before You Share” creates a copy of the file.
-
A shared file will have a sharing icon in the top right corner of its card.
-
Click on the Delete option to open a file deletion confirmation window, displaying “Cannot be undone, confirm deletion?” Click Delete to confirm file deletion, or Click Cancel to cancel deletion.
-
Renders
-
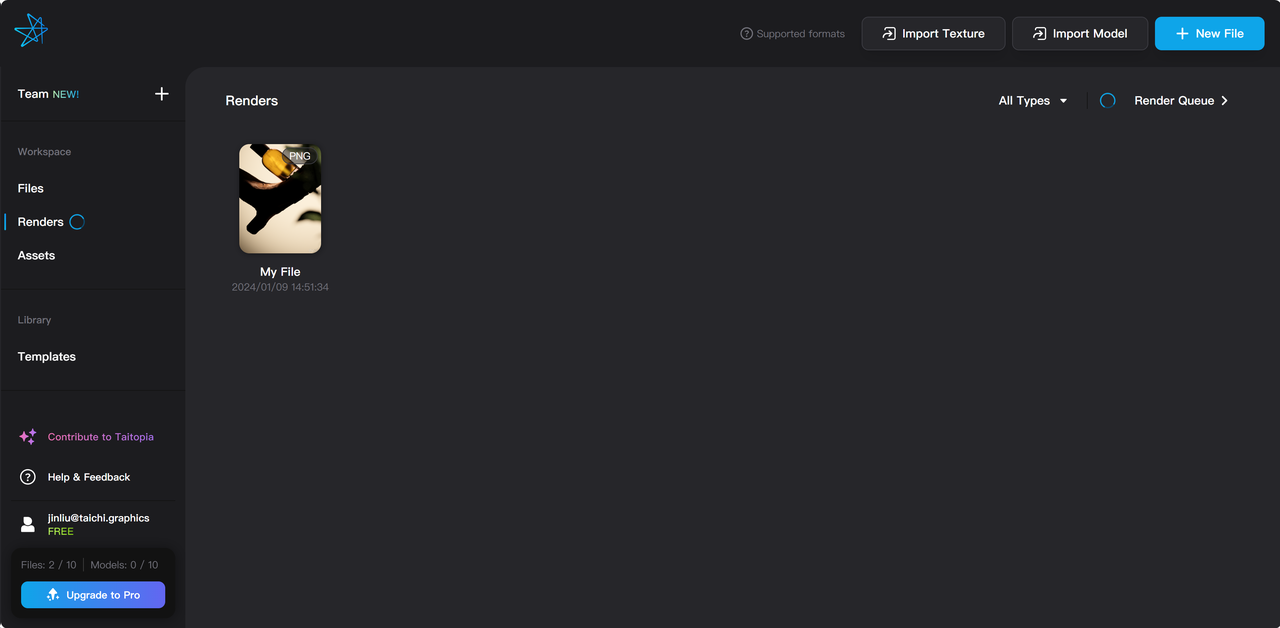
Click on the Renders option on the left sidebar to enter the Renders page.
-
Use the mouse wheel to scroll through all rendering files.
-
Click on All Types in the top right corner to choose to display All Types, or only Image type, or Video/Sequence type of rendering files.
-
Click on Render Queue in the top right corner to view the status of different rendering tasks in the render queue.
-
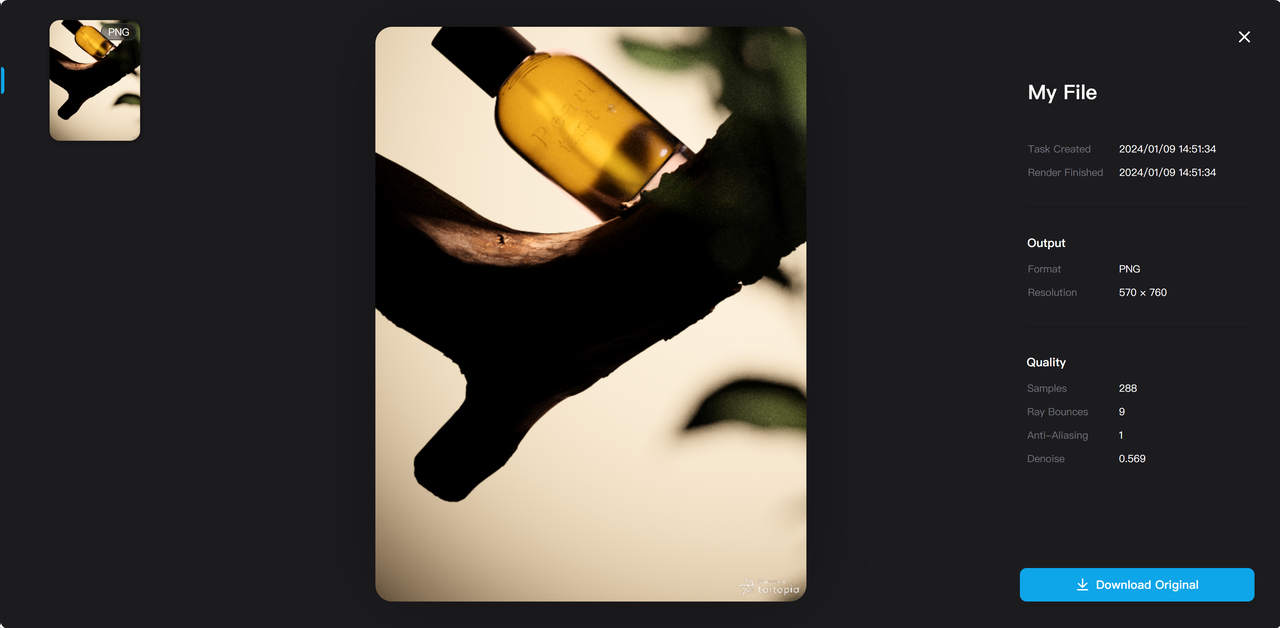
Click on a render image to view its details, including name, time created and finished, output formats, and render quality settings.
-
If there are multiple images in the render task, you can click on the left side to switch between different render images.
-
Click on Download Original to download the original rendering results.
-
-
Hover the mouse over the bottom of a render image to see three dots (more options icon).
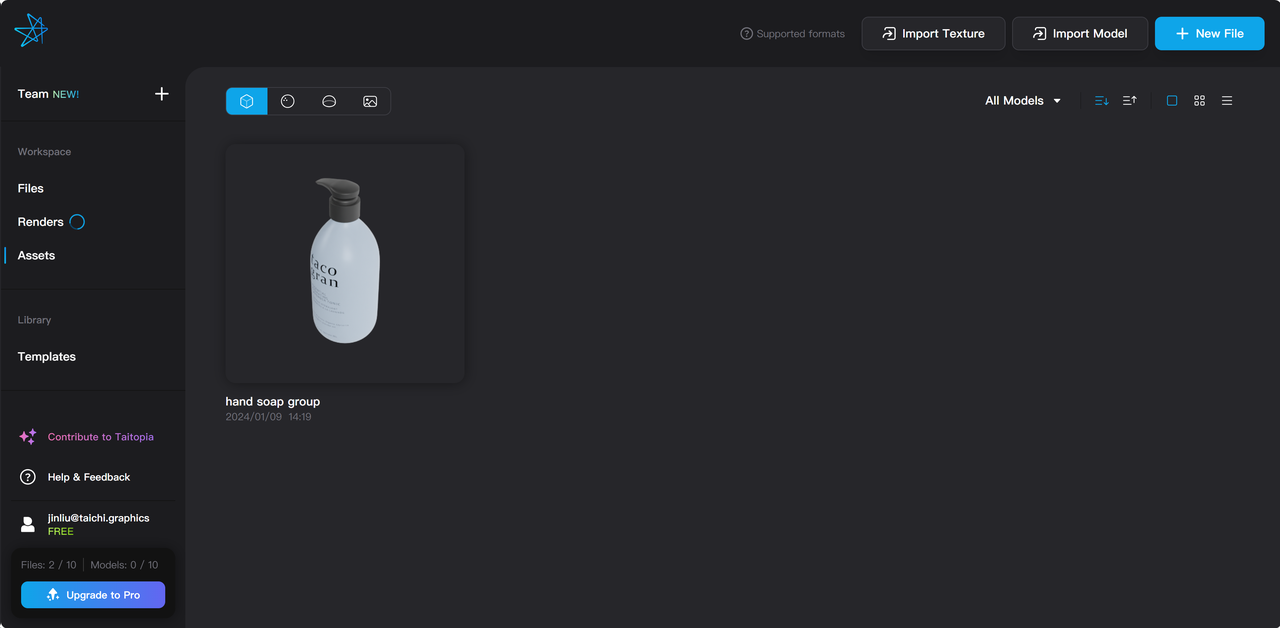
Assets
-
Click on the Assets option on the left sidebar to enter the Assets page.
-
Click on the ascending or descending order icon in the top right corner to arrange files in ascending or descending order.
-
Click on a display mode of large icons, small icons, or list display in the top right corner to choose different file display modes.
-
Click on different icons in the top left corner of the Assets page to switch between different types of assets. The icons from left to right are for Models, Materials, Environments, Textures.
-
Hover the mouse over the bottom of an asset thumbnail to see three dots (more options icon). Click on this icon to see the following menu:
-
Click on Rename to open the renaming window. Type a new name in the model name box and then click Confirm to rename the model, or click Cancel to cancel renaming.
-
For models, click on Re-process to open the model re-processing interface. Set the model’s Up Axis and Tessellation Quality and then click Re-process Model to re-process the model, or click Cancel to cancel the re-processing settings.
-
Click on Clone to Team to clone the asset to a team space. Choose a team space to clone to, then click Clone to complete cloning, or click Cancel to cancel cloning.
-
Click on Delete to open a deletion confirmation window, displaying “Cannot be undone, confirm deletion?” Click Delete to confirm deletion, or Click Cancel to cancel deletion.
-
When in the Models page, Click on All Models in the top right corner of the Models page to choose to display All Models, or Saved types, or Imported types of model files.
- Click on a model thumbnail to create a scene file for that model.
- If using a model for the first time, click on it to open a settings interface where you can set the model’s Upward Coordinate and Precision. After setting, click Process and Add to add the processed model to the scene; or click Skip to directly add the model to the rendering scene.
- If any issue is found when uploading the model , an exclamation mark icon will appear in the top right corner of its thumbnail. Click on this icon to open a details window, showing issue descriptions and suggestions for resolution.
-
When in the Environments page, click on an environment thumbnail to create a new scene file with the selected environment. The created scene will also include a default chair.
-
When in the Textures page, click on All Textures in the top right corner of the Textures page to choose to display All Textures, or Saved types, or Imported types of texture files.
Templates
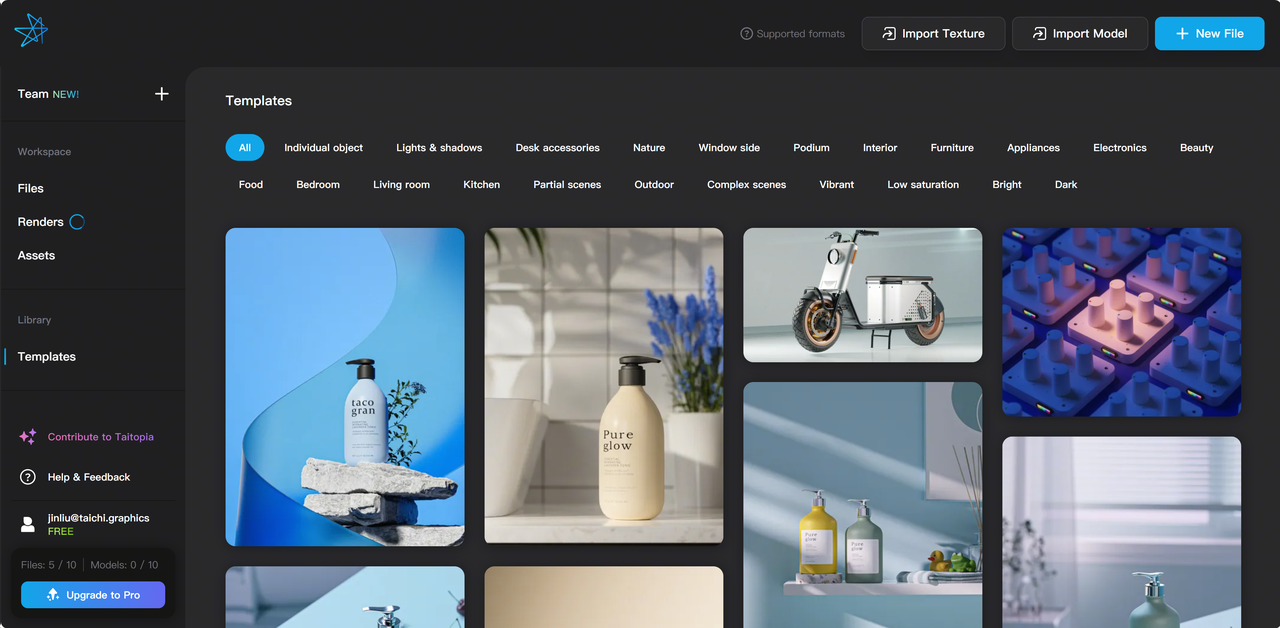
- Click on the Templates option under Library on the left sidebar to enter the Templates page.
- Use the mouse wheel to scroll through all templates.
- Click on the scene category tags to filter templates by categories. Multi-selecting tags displays templates that belong to any of the selected tags.
- Hovering over a template will display its name and detailed information.
- Click on a template to open a scene file using the selected template.