Official Asset Library
Official Material Library
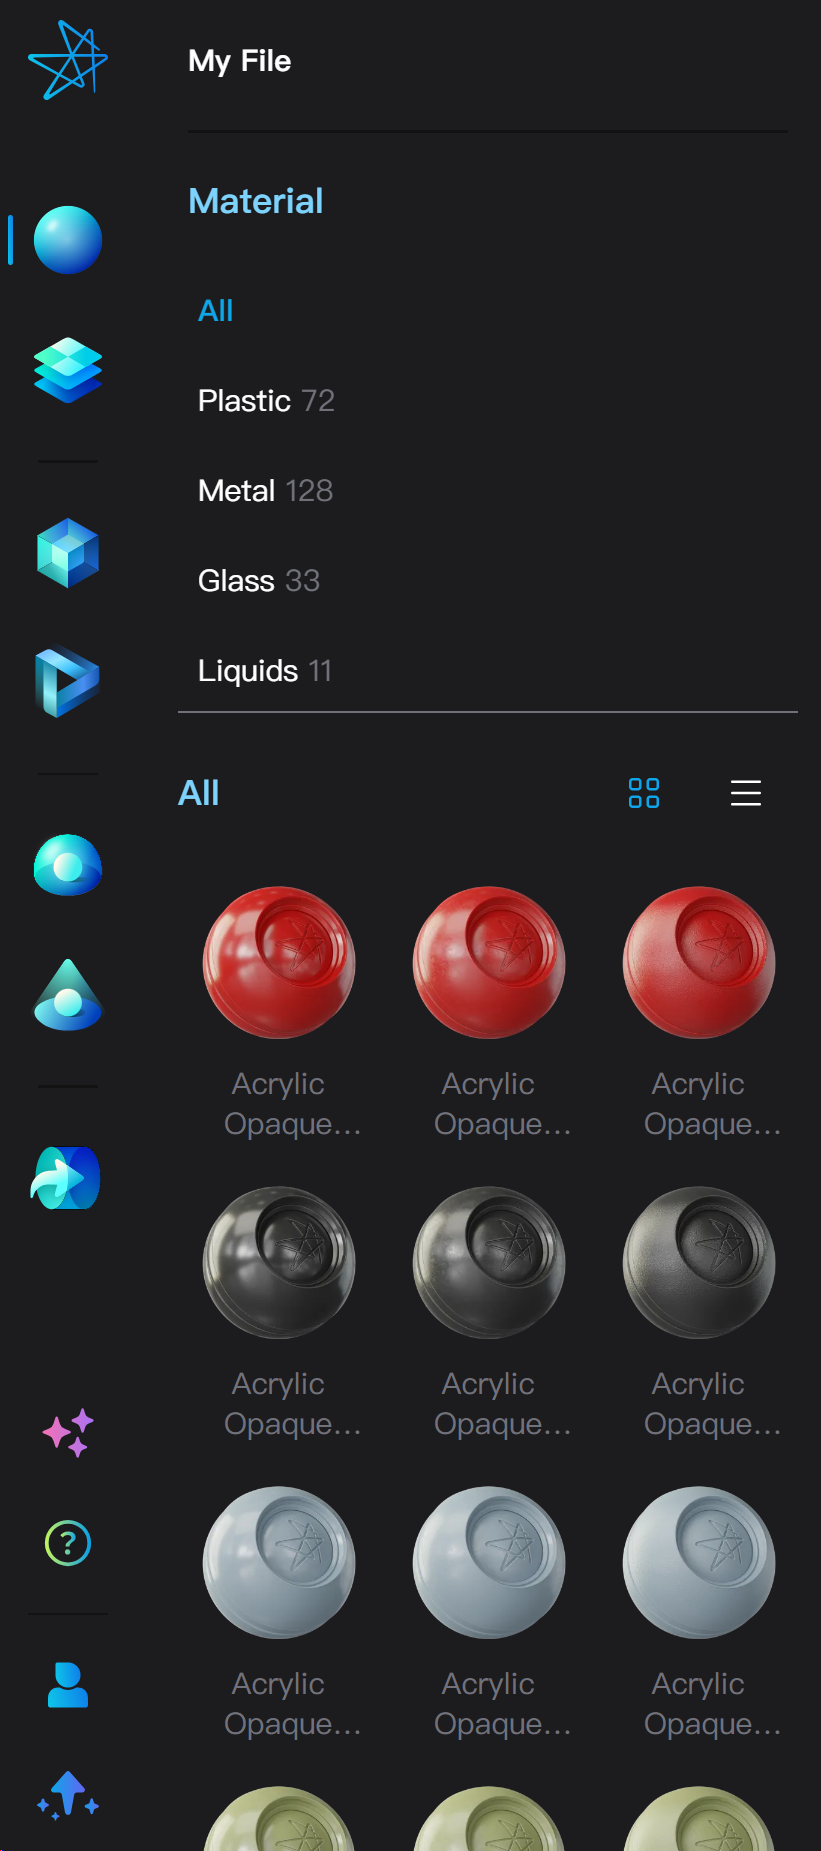
- Click on the “Material” tab of asset library to display official materials of that category, such as Plastic, Metal, Glass, Liquids, etc..
- Drag the divider between categories and material display to adjust the proportion of the upper and lower pars of the panel.
- Hover over a material to see an enlarged detail image and the material name.
Official Texture Library
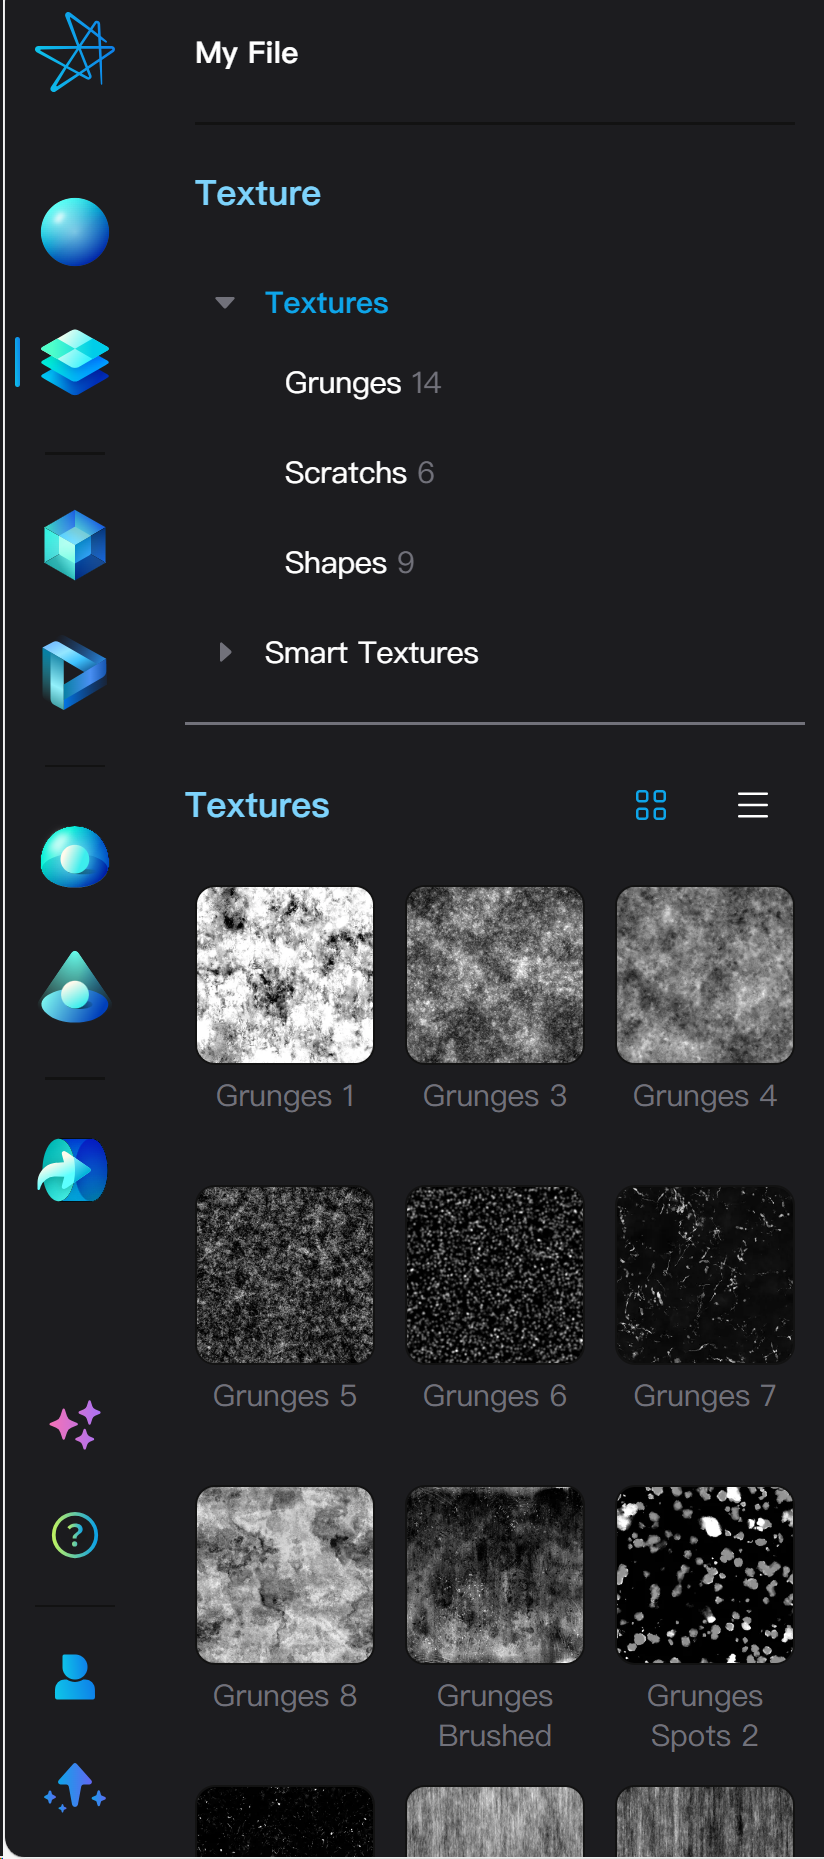
- Click on the “Texture” tab of asset library to display official textures of that category, such as Textures, Smart Textures, and continue clicking to select subcategories like Grunges, Scratches, Shapes, etc..
Official Model Library
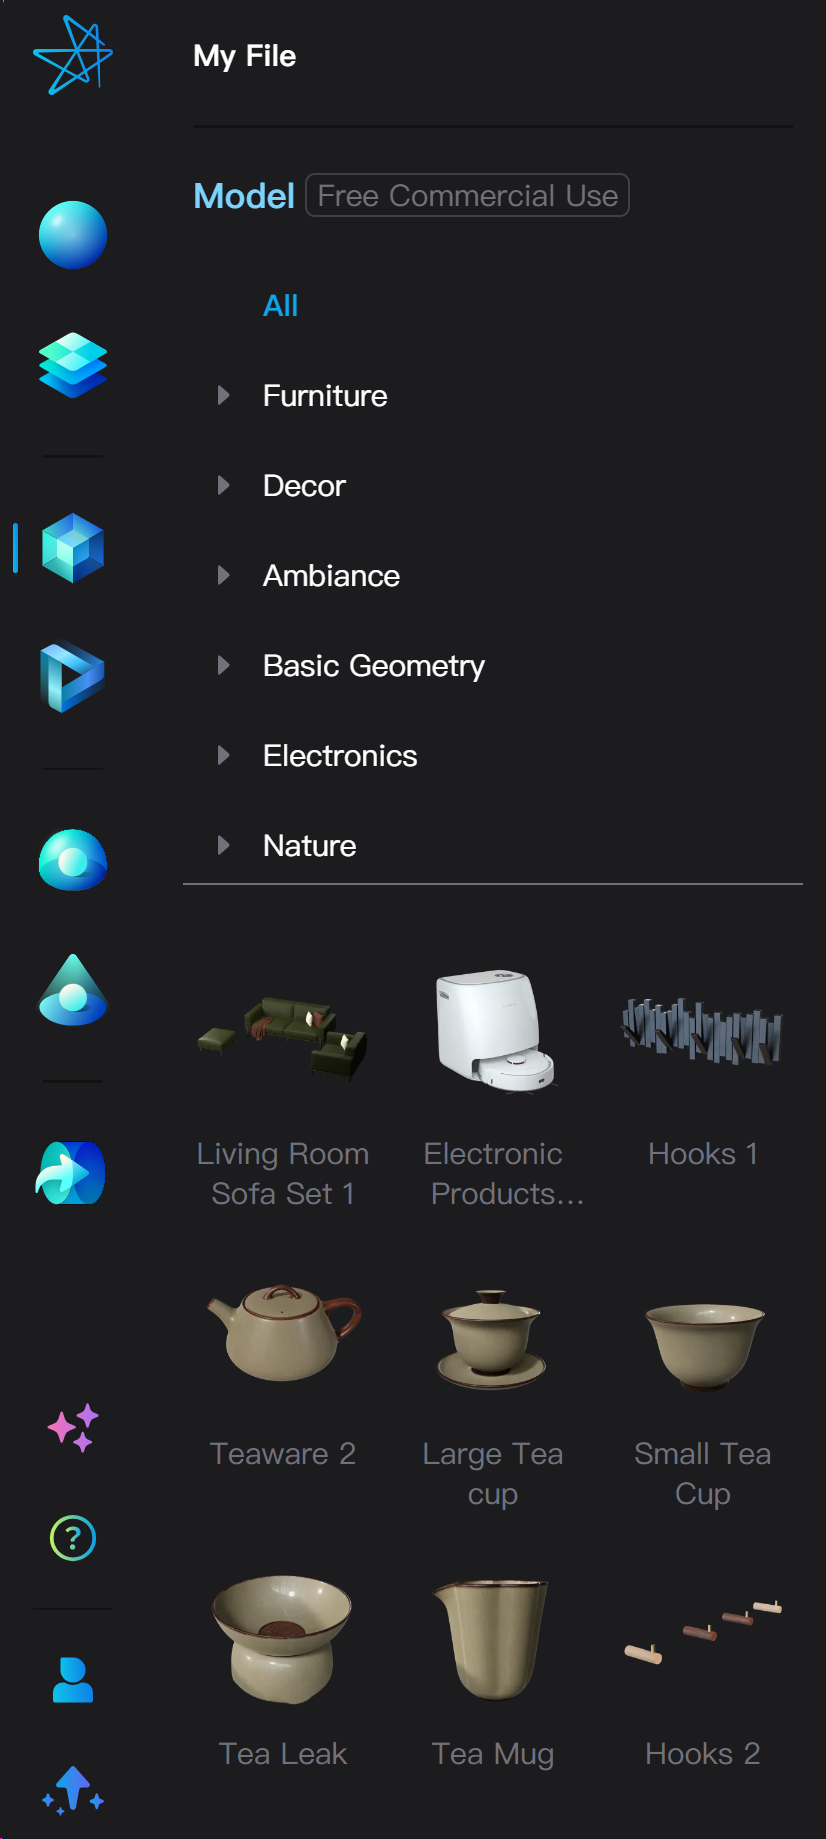
- Click on the “Model” tab of asset library to display official models of that category, such as Furniture, Decor, etc..
Animation Presets
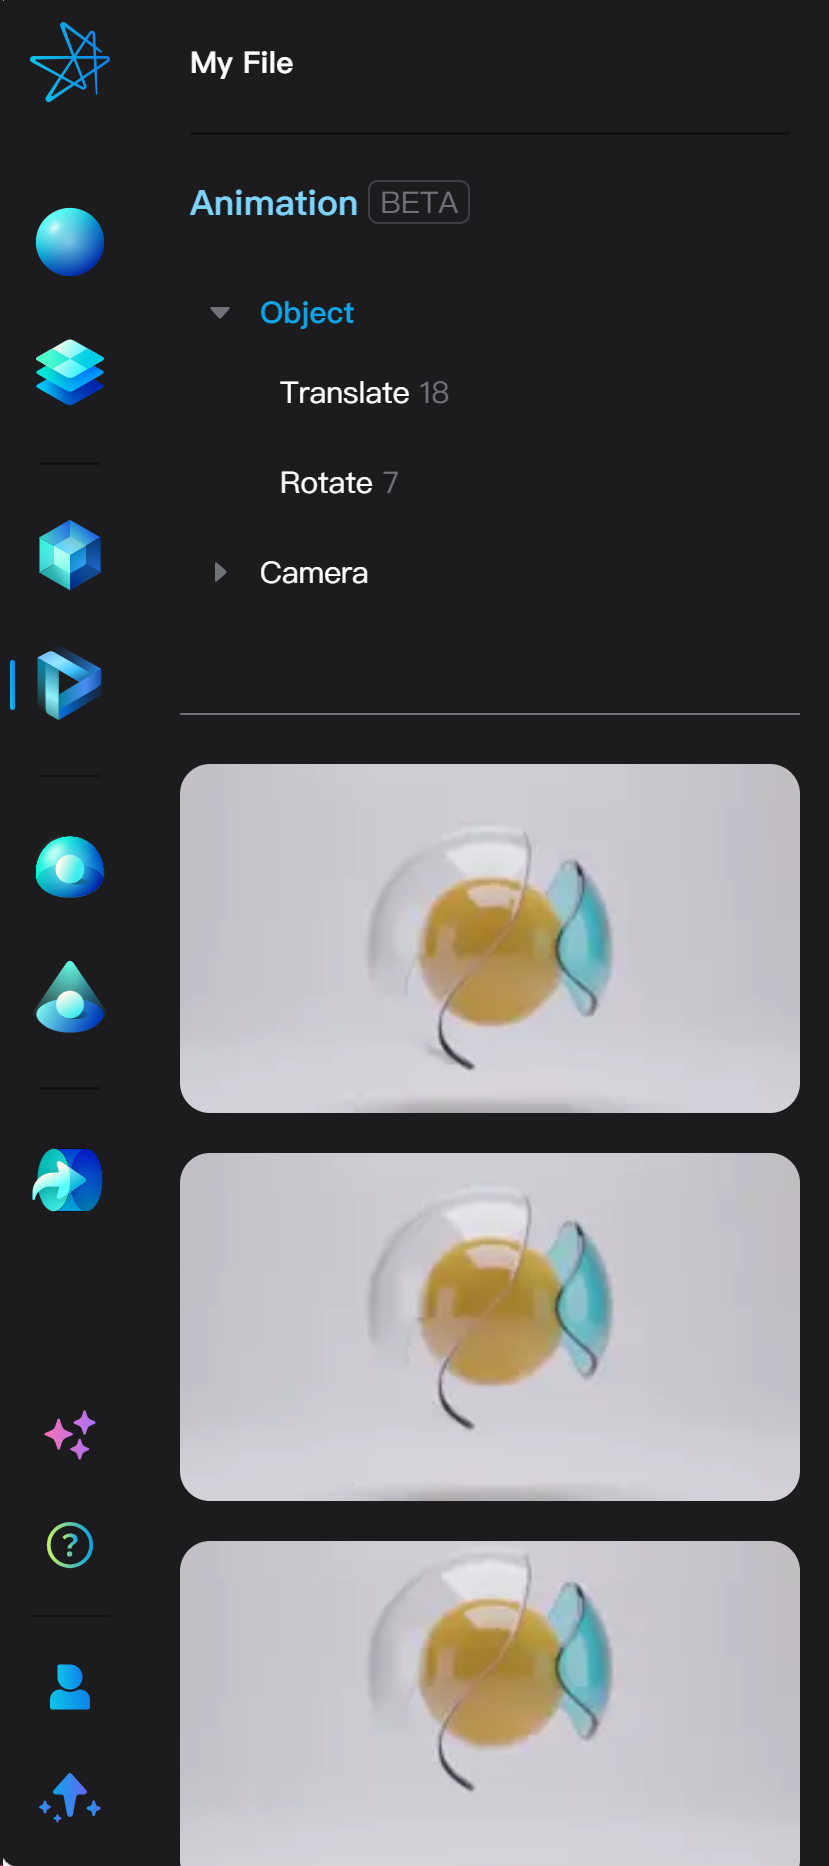
- Click on the “Animation” tab of asset library to display official animation presets
- Hover over an animation to display the preview card to containing the name of the animation and a preview video.
- To add an animation preset in the Object category, you need to select an object from your current scene. Then, clicking the animation will directly add it to the selected object.
- To add an animation preset in the **Camera **category, you need to activate a camera from your current scene. Then, clicking the animation will directly add it to the active camera.
- A message will appear at the top of the window if the animation preset is successfully added, and the animation timeline will also be automatically activated.
Official Environment Library
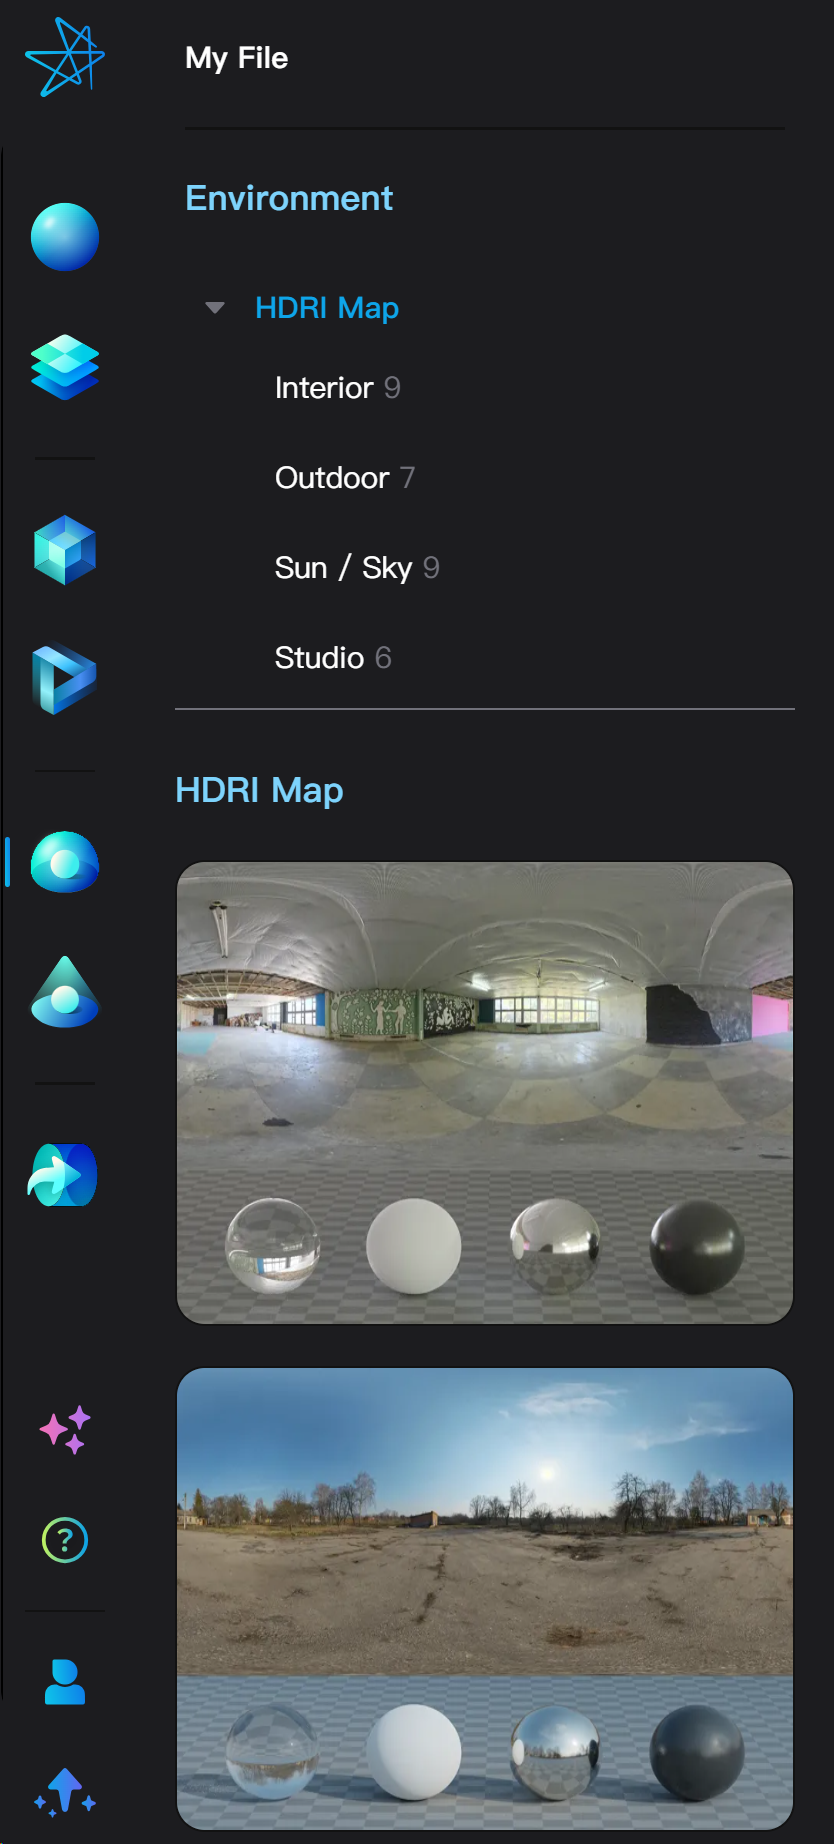
- Click on the “Environment” tab of asset library to display the environment library containing HDRI Maps, Environment Sets, and Backplate Images
- Clicking on any environment asset of dragging the asset into the 3D viewport will directly apply the environment. However, the exact behavior after applying the environment asset differ by each type.
- After applying an HDRI Map, the applied HDRI map replaces the HDRI map of the current environment. No new environment is added.
- After applying an **Environment Set, **it will be added as a new environment in the scene.
- After applying a Backplate Image, it will appear as the render background of the 3D viewport. Note that you need to activate a camera to see the backplate image, and Free Roam does not display backplates.
Lighting Presets
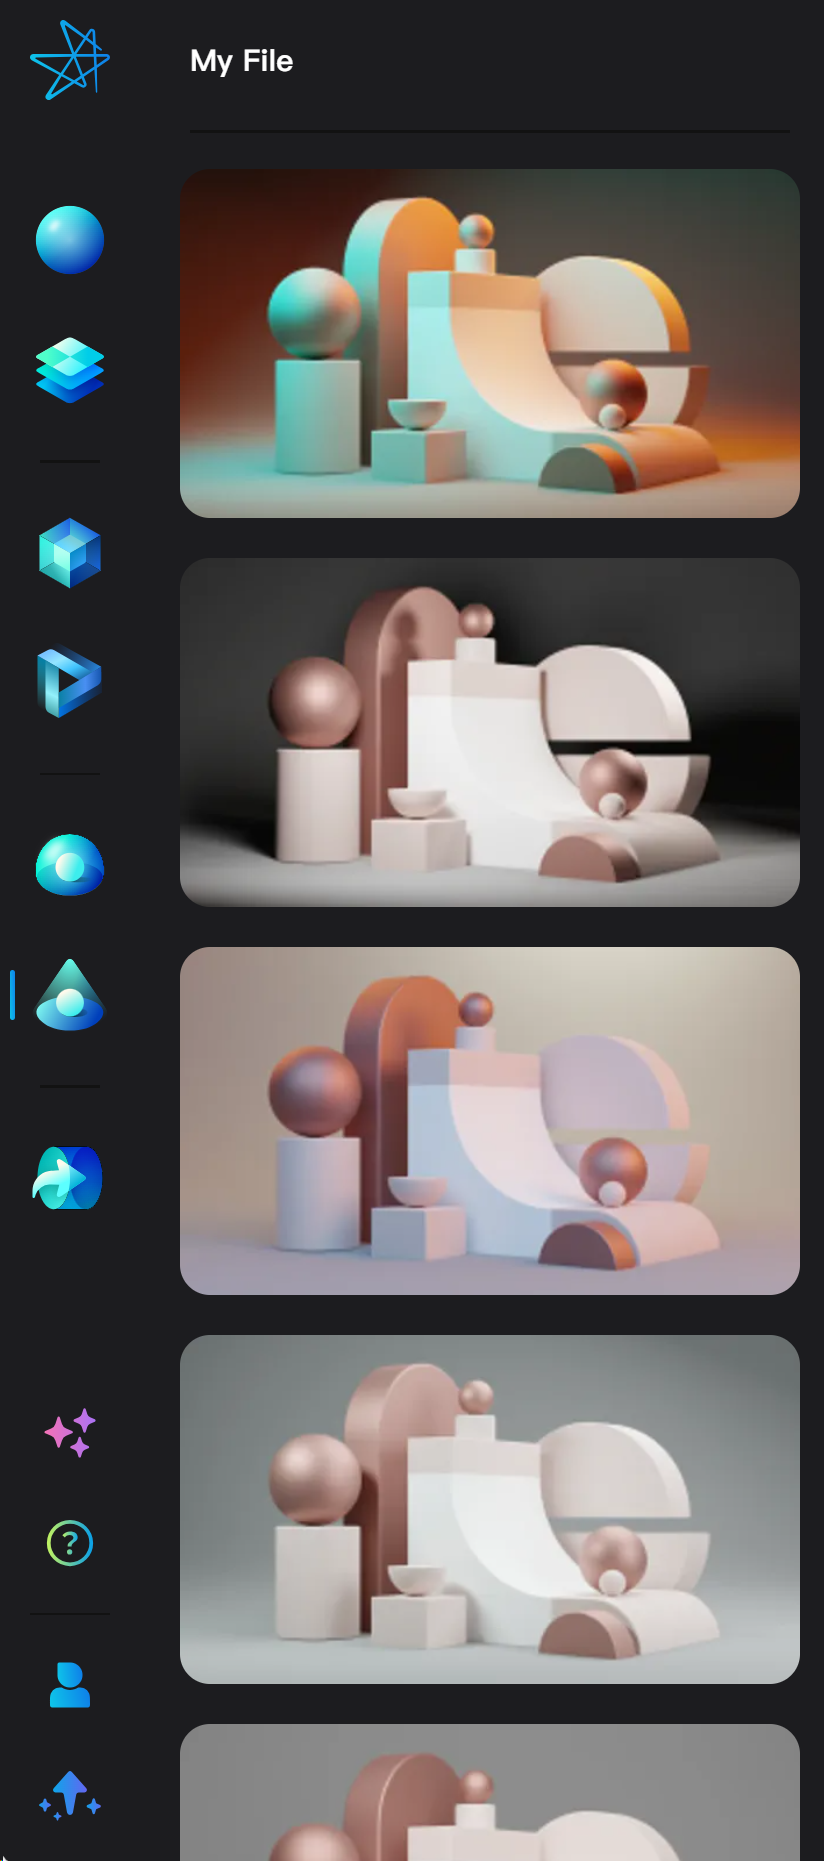
- Click on the “Lighting Preset” tab of asset library to display lighting presets.
- Click on a light preset, and a preview of the light preset will appear in the 3D viewport. A prompt with Cancel and **Apply **options will appear on the top of the window. Click Apply to apply the light preset to the scene, or click Cancel to cancel the application.