Save and Use Your Assets
Saving Models
-
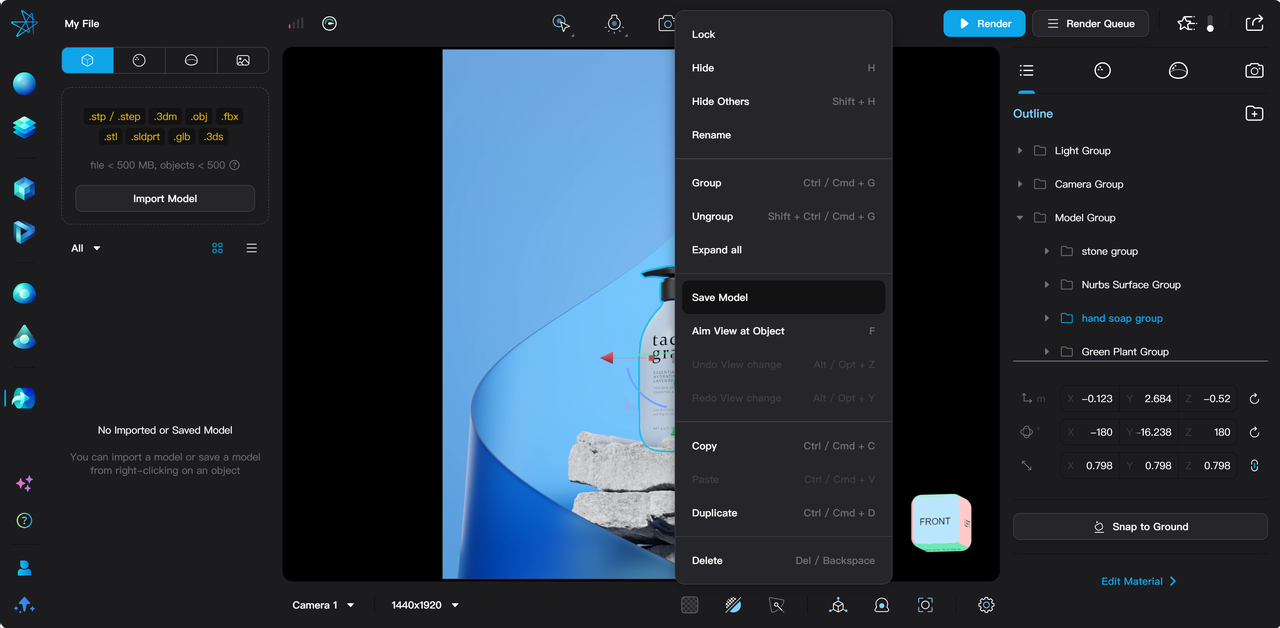
After selecting a model in the 3D viewport, right-click on the model viewport area and click Save Model from the menu. A model preview window will then open.
-
Here, you can adjust the camera for generating the thumbnail image for your save model. After confirming the model name, click Save Model to save it to your personal asset library.
- Alternatively, you can select models and model groups from the scene outline and right click on the outline item to save a model.
Using Models
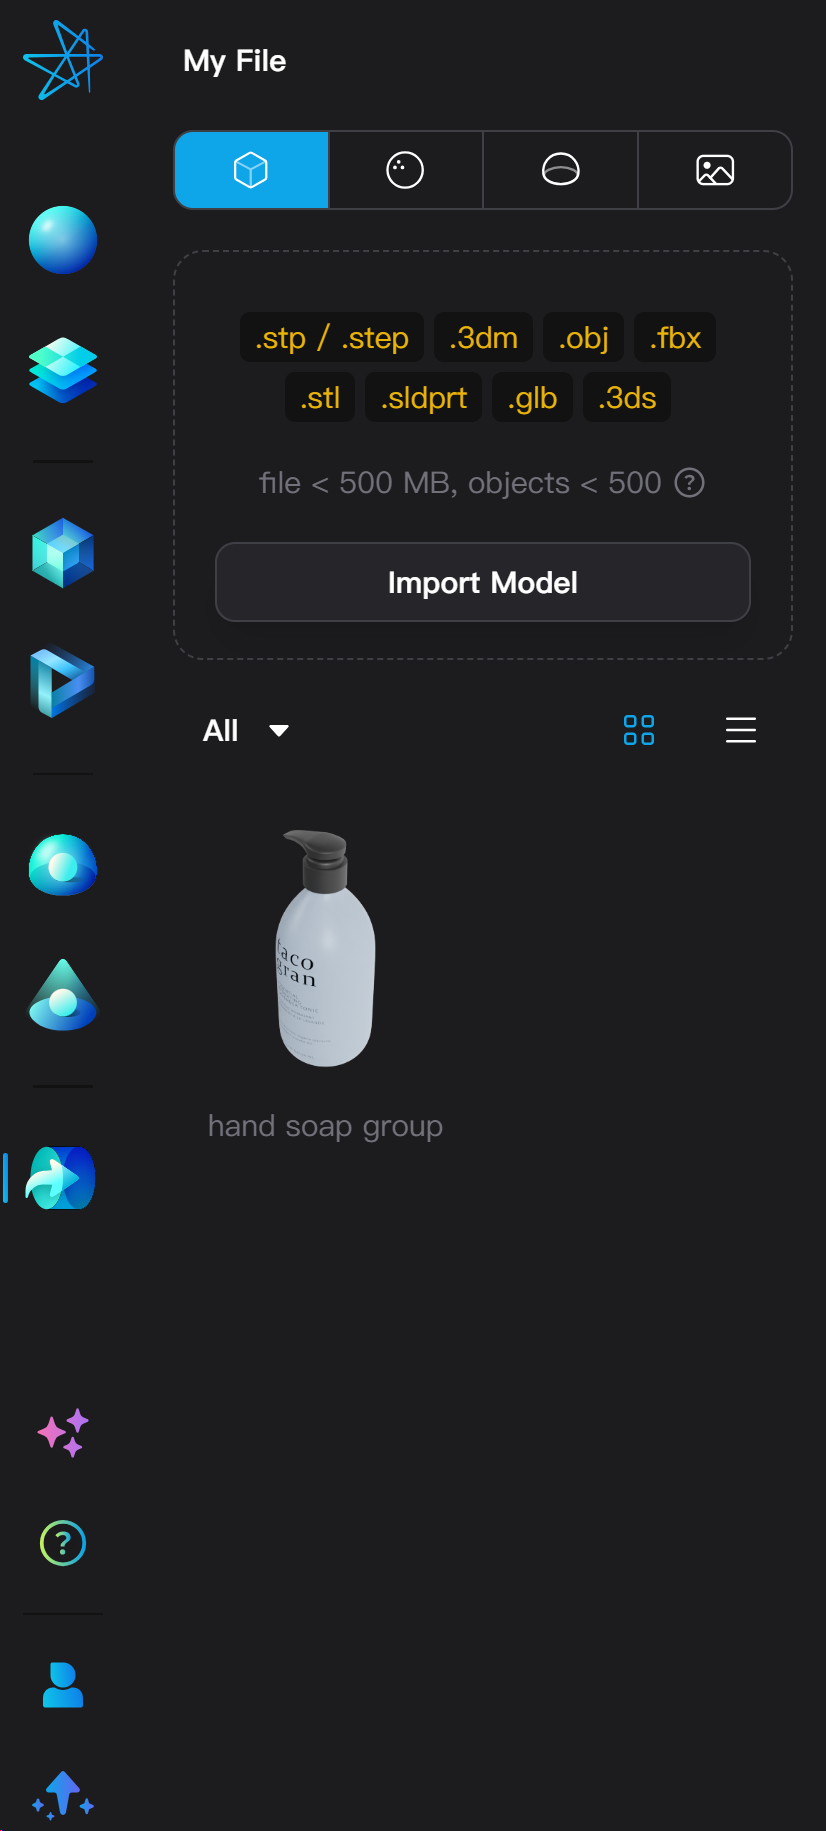
- Click on a model, and it will appear at the world center in the 3D viewport. The current camera will automatically fit to the model.
- Drag a model to the 3D viewport to preview the model's bounding box. Drag it to a suitable position and release the mouse to place the model.
Replacing Models
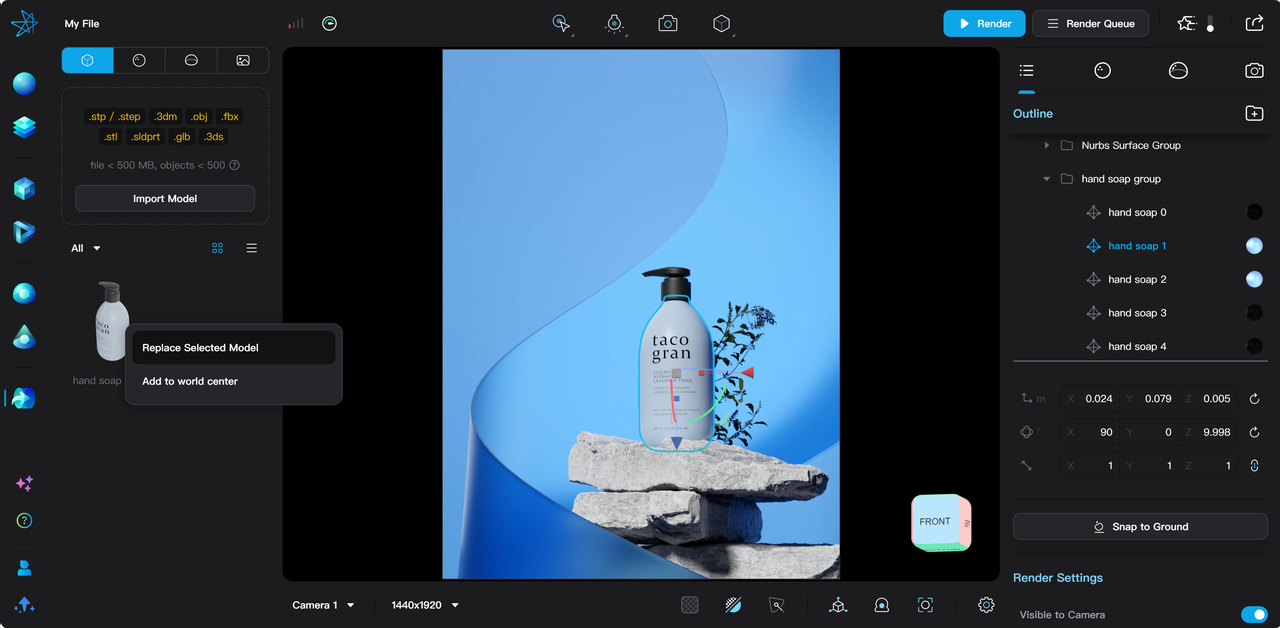
- When an object is selected, right-click on a model and then click **Replace Selected Model **from the options that appear to replace the selected object.
Using Materials
-
Drag a material to the 3D viewport to see an orange outline around objects at that position. Release the mouse over the appropriate position to apply the material to the corresponding object.
- Alternatively, you can drag a material to a specific object or object group layer into the scene outline panel on the right sidebar.
Using Environments
- Clicking on an environment will directly apply it to the current scene.
- Alternatively, you can drag an environment preset into anywhere of the 3D viewport, or right-click on an environment preset and then click Use Environment from the options that appear.
Using Textures
-
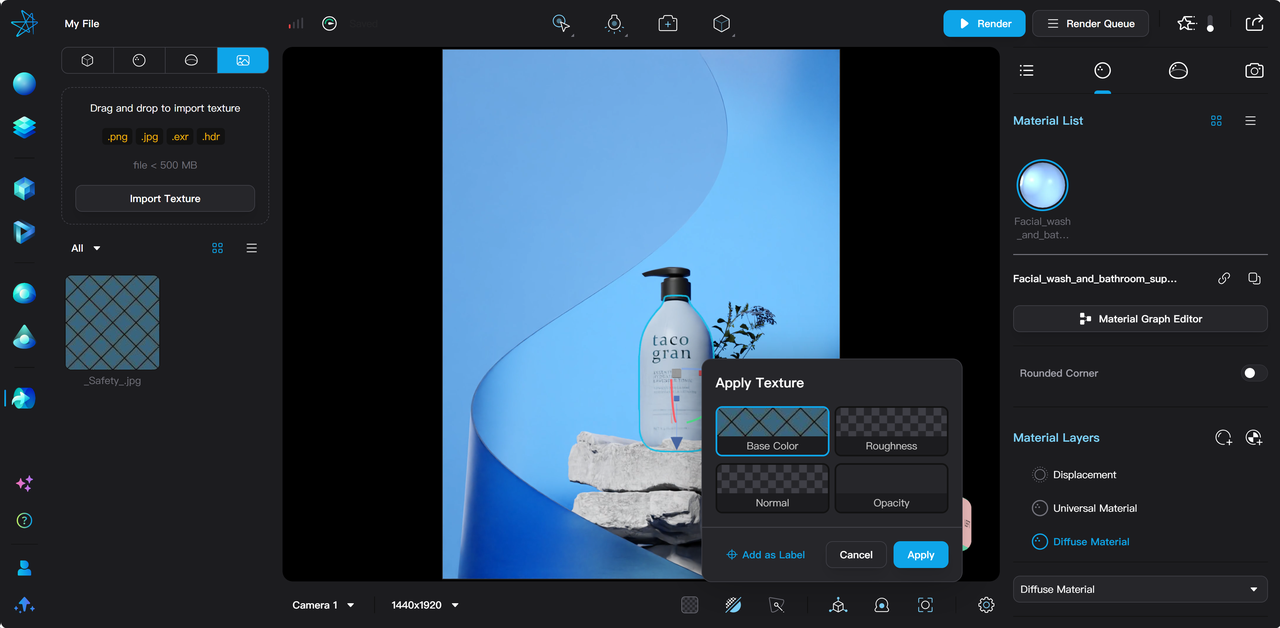
Drag a texture to the 3D viewport to see an orange outline around objects at that position.
-
Releasing the mouse will display a window to select the channel to which the texture will be applied to the material, such as base color, metallic, roughness etc.
-
Click on the respective texture channel to preview the effect of adding the texture.
-
You can also click **Add as Label **to add the texture as a new label layer in the material. After adding as label, the Place Texture mode is automatically activated.
-